
Adding Images
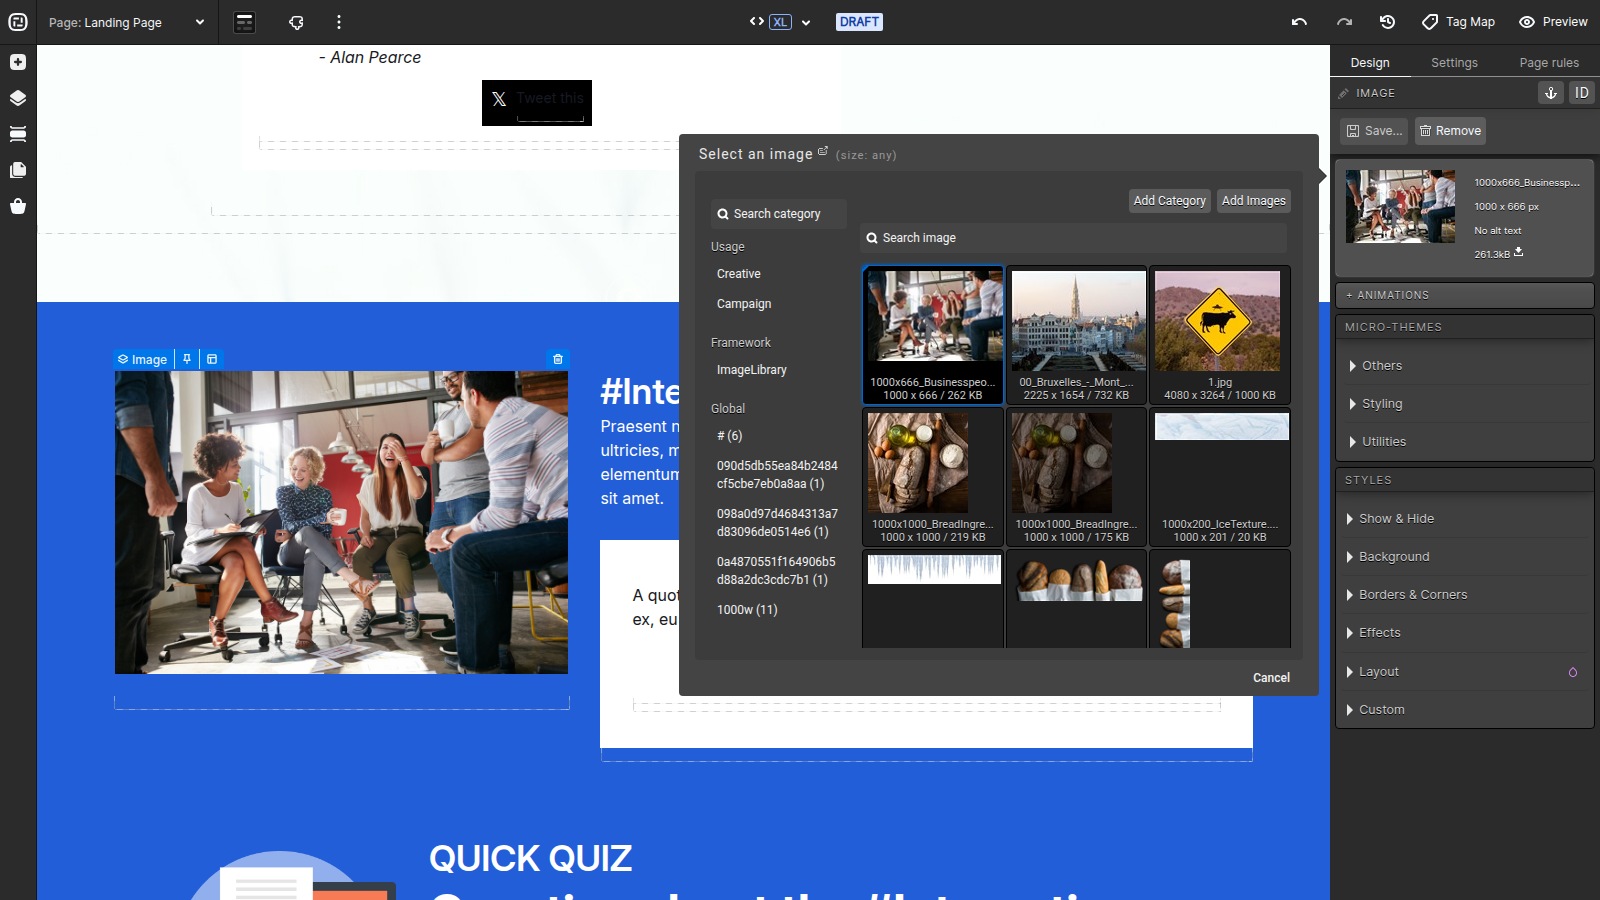
You can double-click any image or image placeholder you see to open your image editor fly-out. With your image editor open, you can choose from either your preloaded images in your framework, or you can select an image from your global image library.
To do so, simply choose the appropriate image category from the left side of the fly-out and then select the thumbnail of the image you would like to place on your page. After selecting your image, you will be given the option to crop, resize and/or make your image more transparent. After making any desired adjustments to your image, click Apply to place the image on your page.
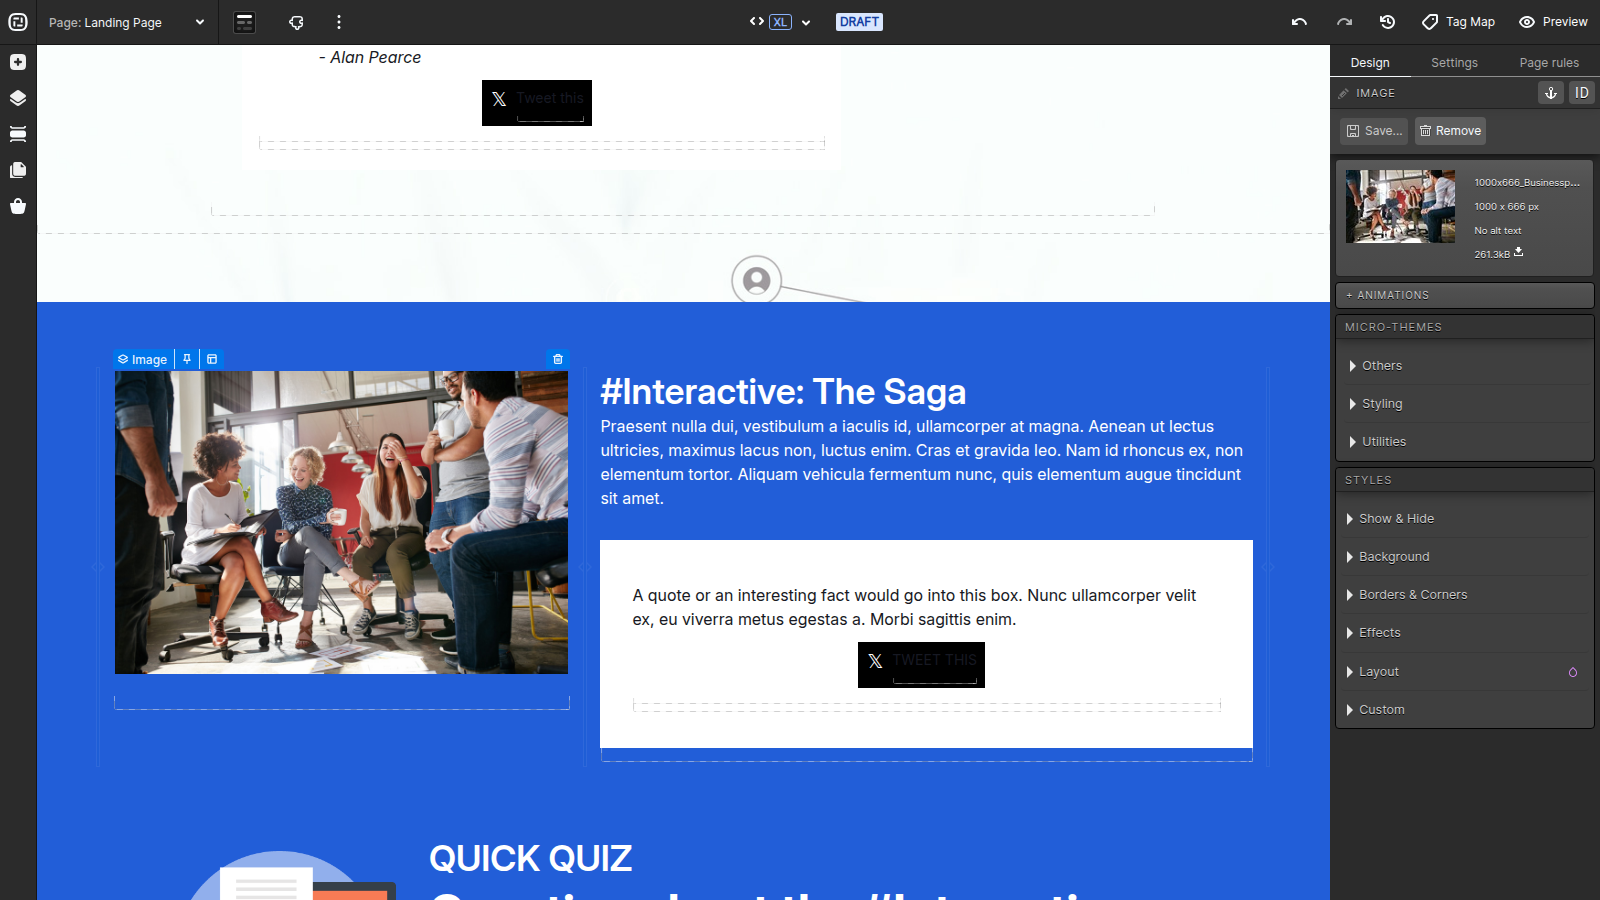
After adding an image to your page, you can also make it clickable by using the available Actions editor within your creative studio.
You can also add new images to your image library! Simply drag and drop images from your desktop into the image editor fly-out, or click the “Add Images” button to select a new image to add to your library.
*NOTE: To remove an image from your page, you may select the image and click the Remove control in the Design panel.
Editing Images
When adding an image to your ion landing page, you will have the option to crop, resize and make your image more transparent. After selecting the image you would like to use on your page, you will be presented with the below screen.
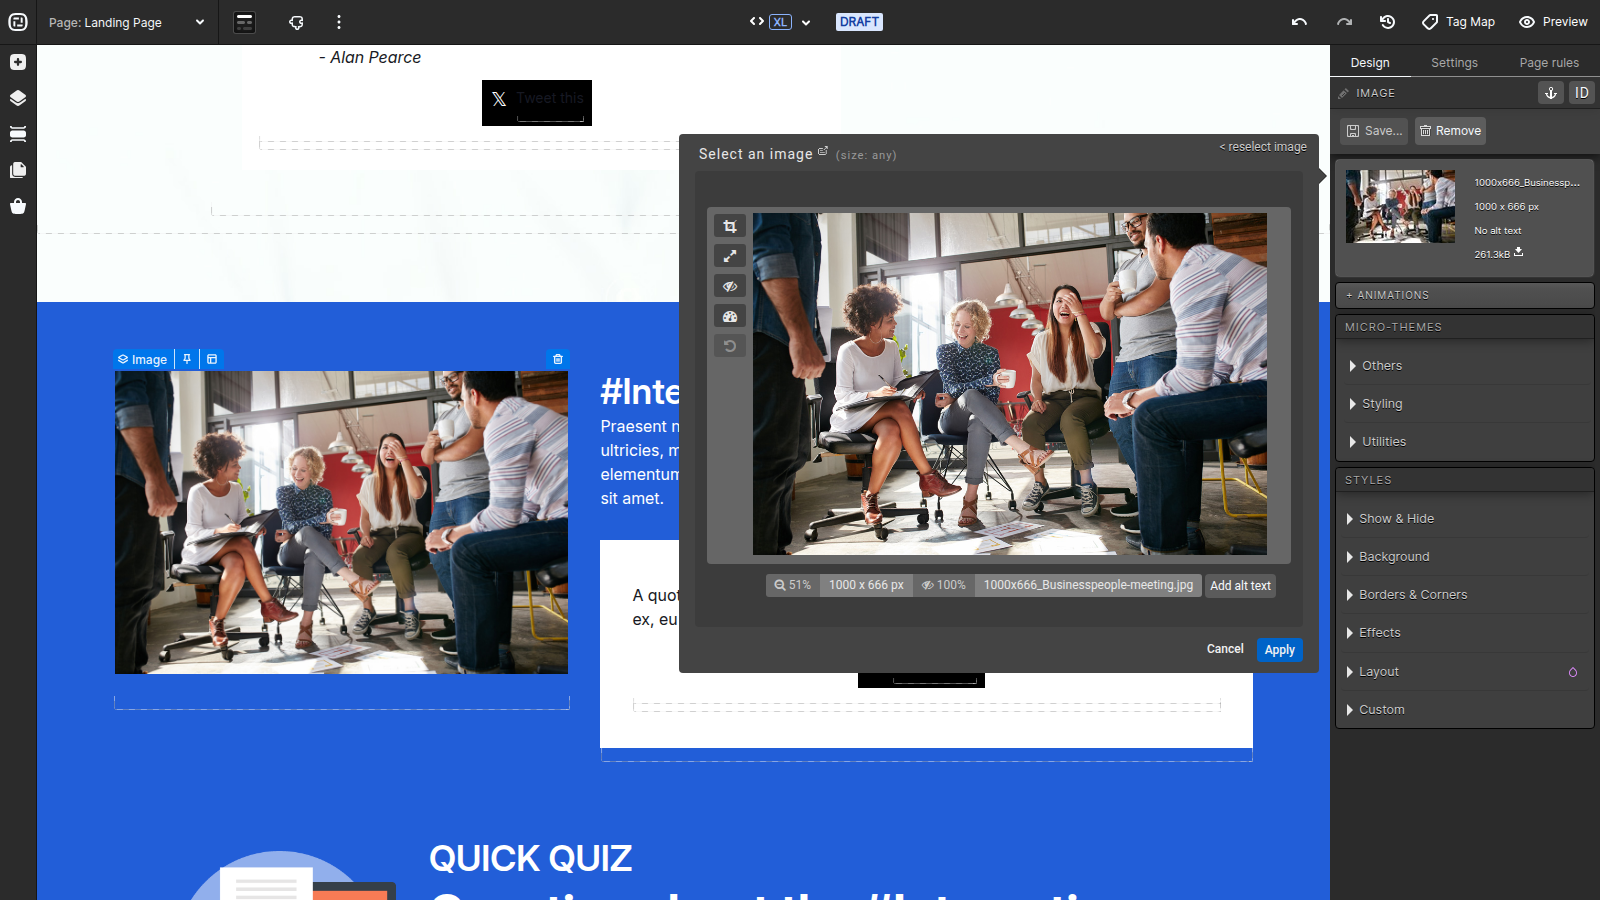
On this screen, you will see controls to crop, resize, adjust transparency, optimize, or revert to the original image.
Cropping Images
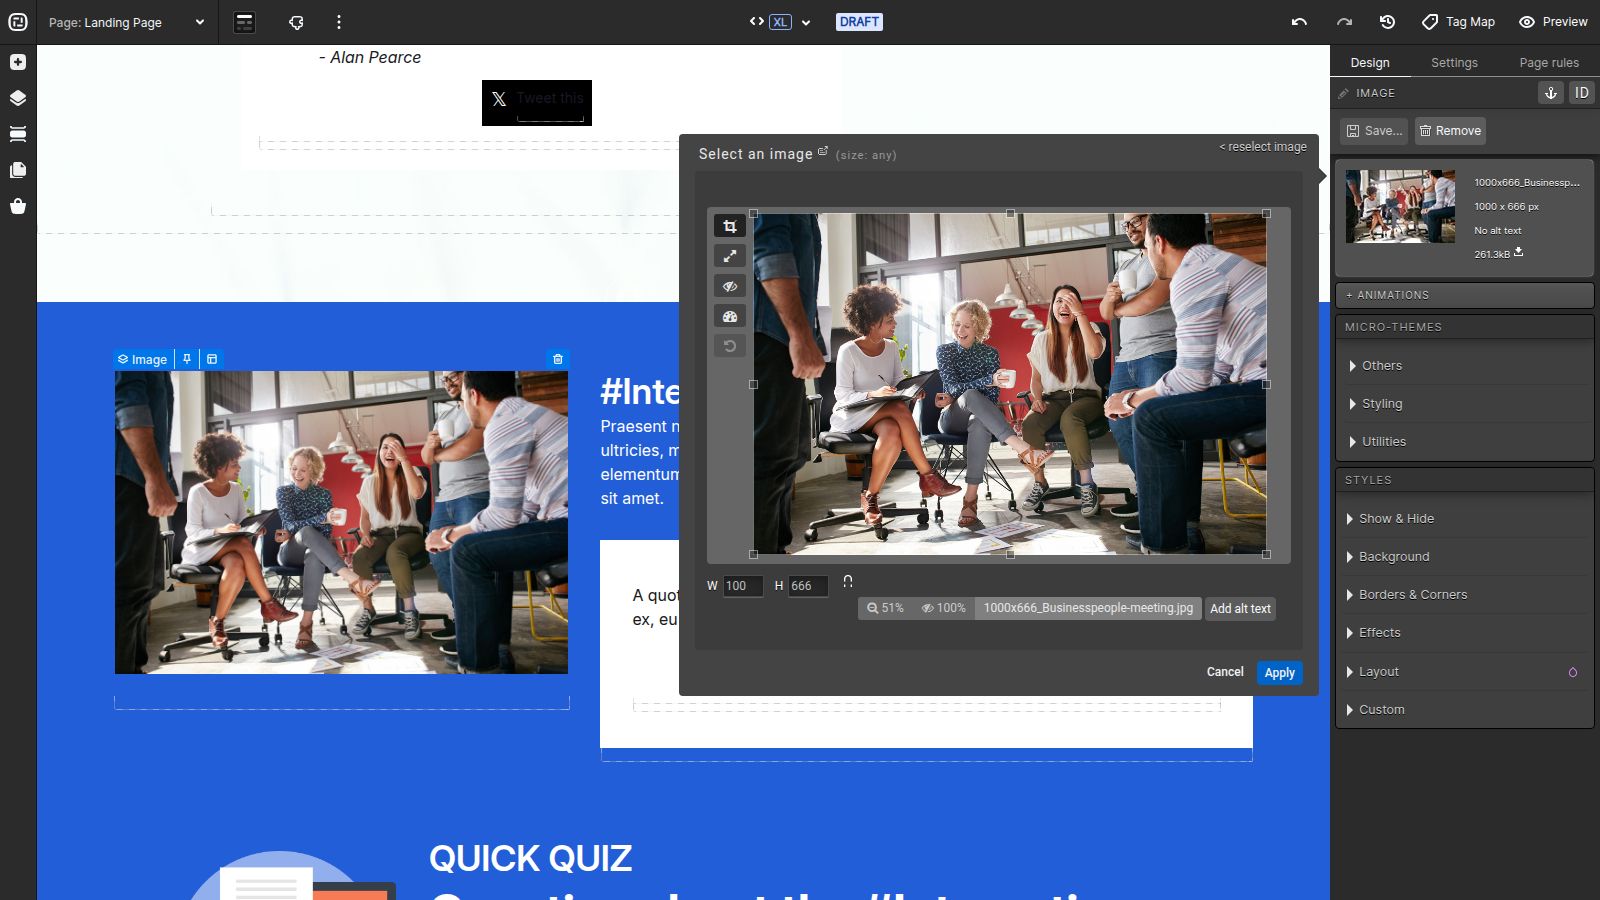
Cropping your image is useful in times when you would like to only display a specific portion of your image. After clicking the crop button, you will be presented with an adjustable border which can be used to select the portion of your image you would like to display on the page. After adjusting the border to select your desired viewable area, click OK in the crop tool, then click Apply in the image editor.
Resizing Images
ion’s image resizing tool will be useful in times when you would like to adjust your image to make it larger or smaller than the original size. After clicking the resize icon, you will be presented with a flyout to define the dimensions you would like to use for your image. the ion image resizing tool also has the ability to constrain the proportions of your image to ensure your new image size retains the same proportions as the original.
After adjusting either the width or the height of your image and clicking OK within the resizing tool, then Apply in the image editor, your image will be placed on your page using the dimensions you have defined within the resizing tool.
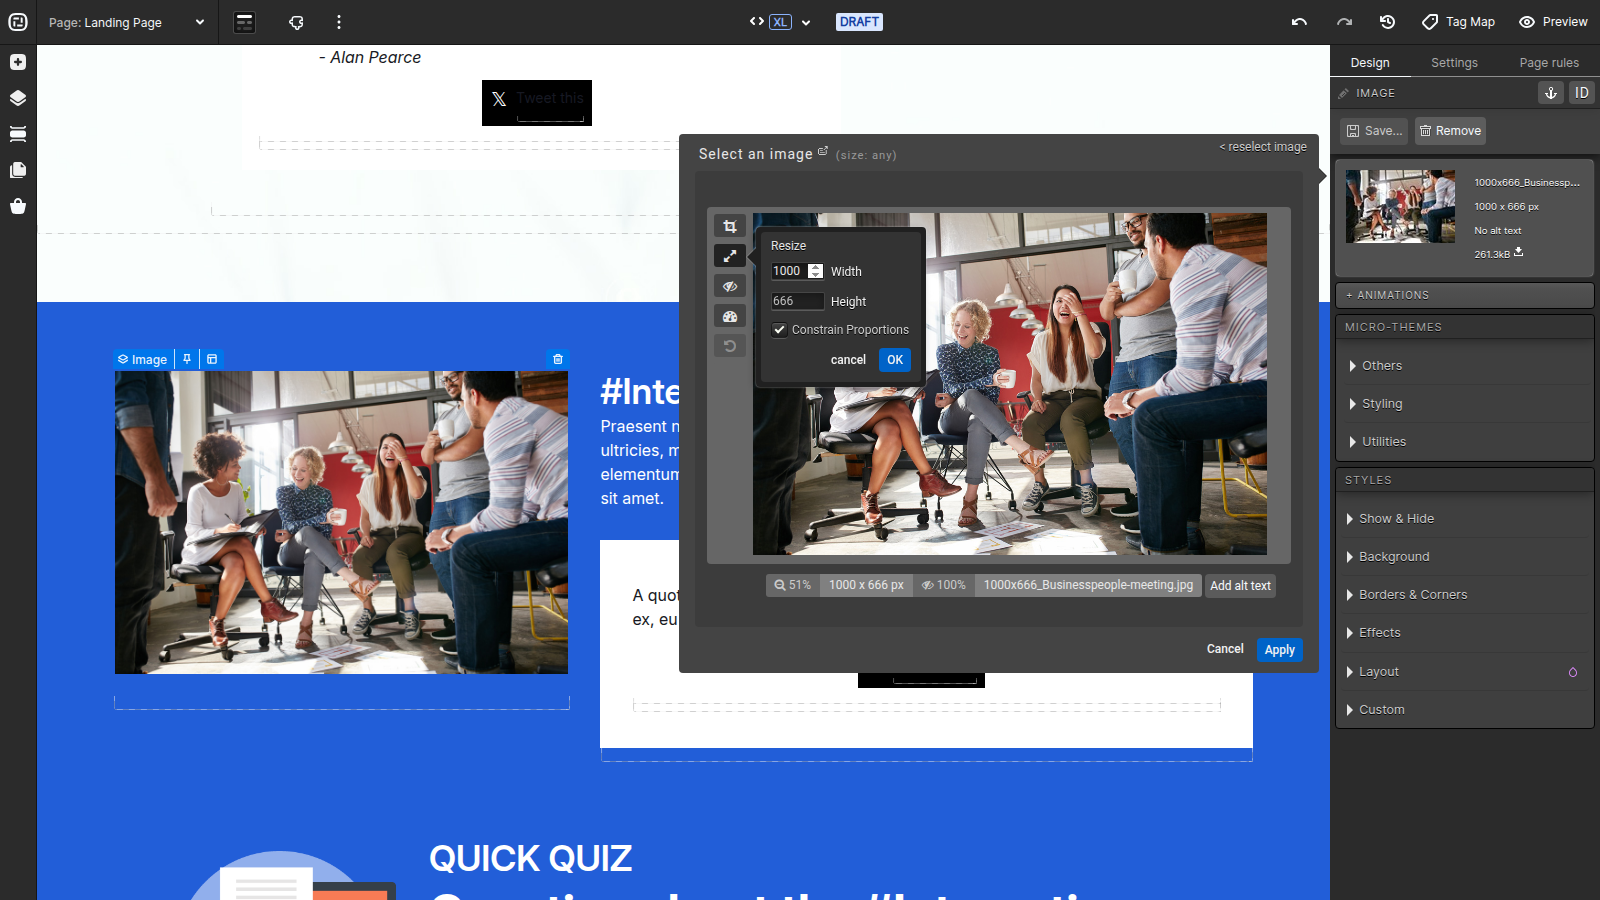
*NOTE: When making images larger, you may experience some pixelation in your image depending on how much larger you make your image.
Transparency
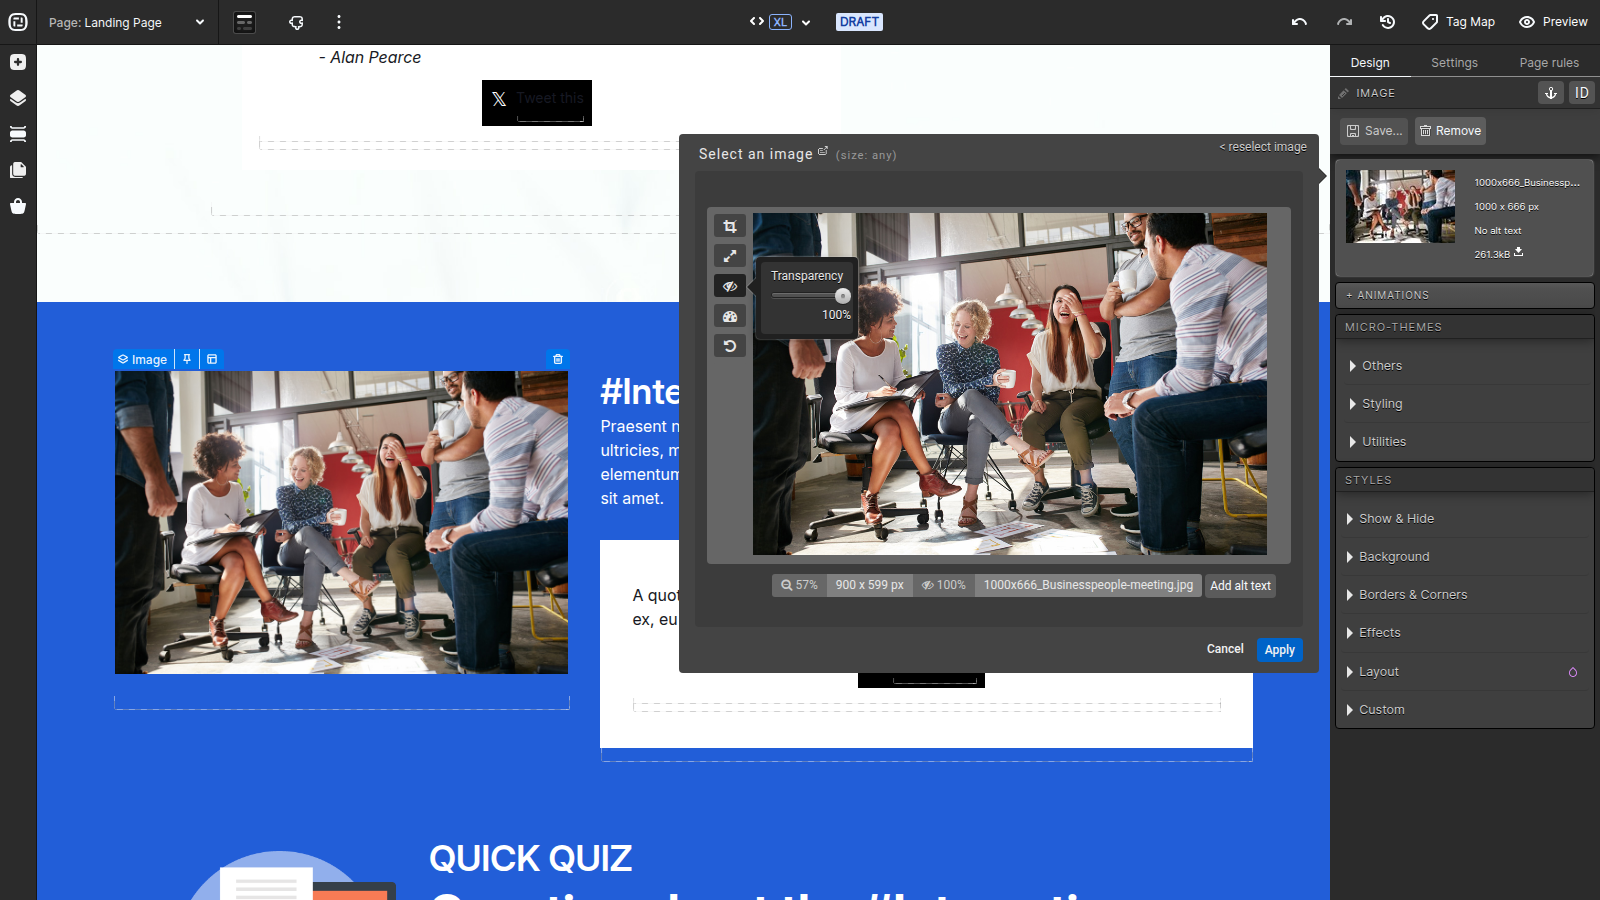
ion’s image editing tool also allows you to make your image transparent. If you are looking to show the background through your image, you may adjust the transparency of your image as desired.
Revert
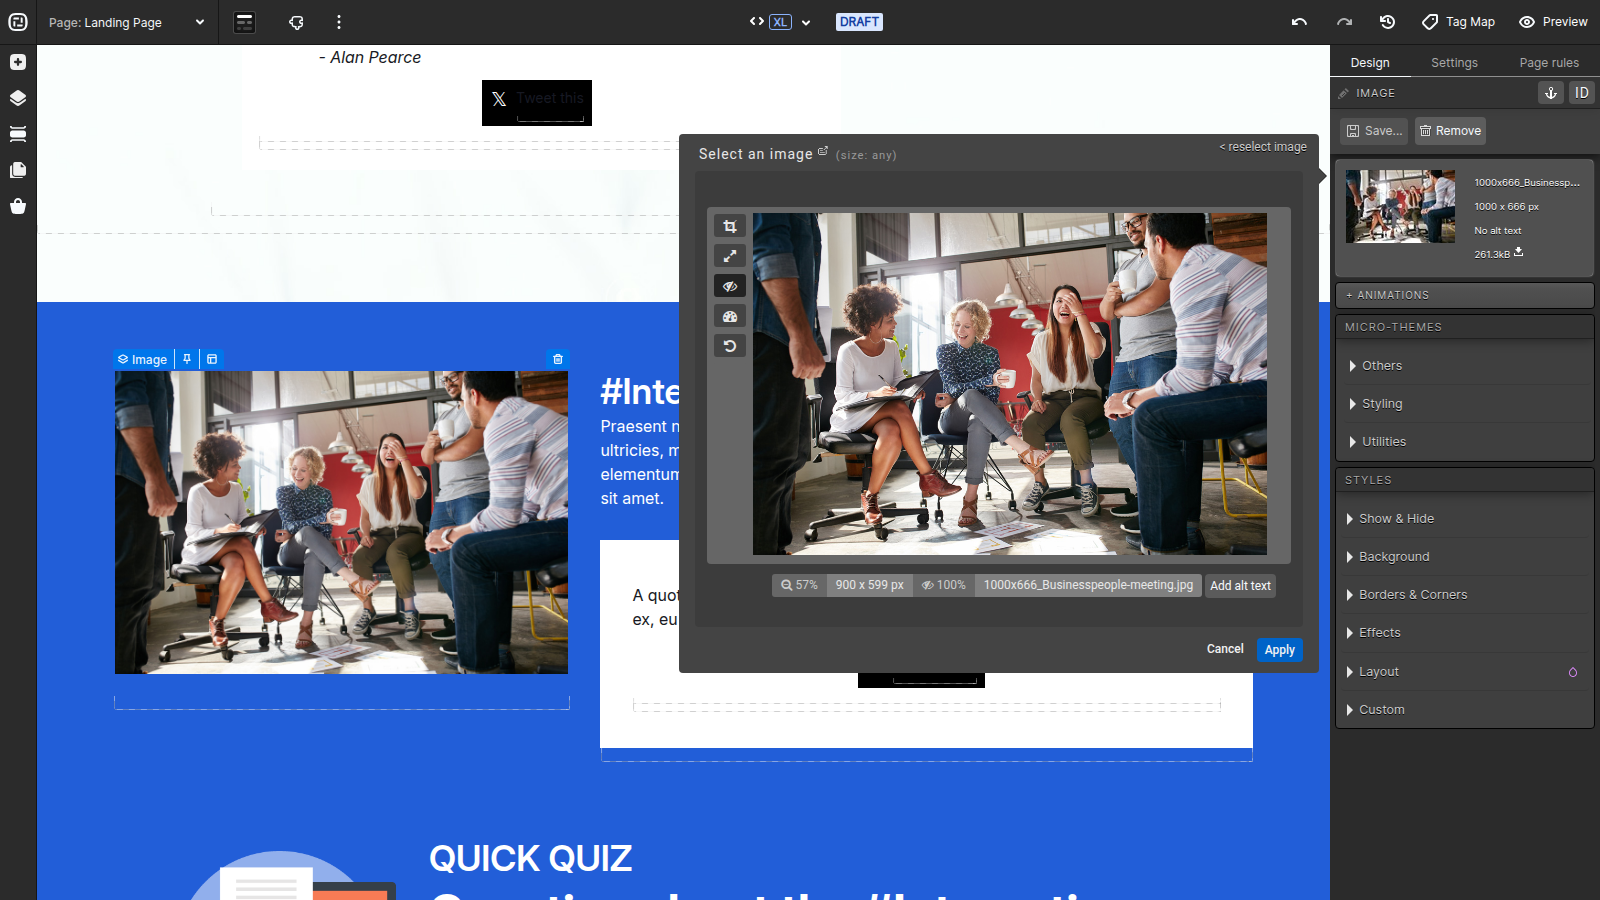
If you decide you would rather not keep the changes you have applied to your image, you may use the revert button to reset your image back to its original state.
If you have any questions, please contact us on help@ioninteractive.com.
